


How to Setup Your Next.js Project from Scratch for create-react-app Users (Image, SVG, and Testing Library)
Learn how to setup Next.js correctly and discover what create-react-app used under the hood


Sometimes it's very daunting for a beginner to write their own configuration such as Webpack or other bundlers that available on the market. But to be honest even though you already have years experience working with React, it's still feel inconvenient to write our own configuration every time we start a new project, especially due to a waste of time. This is when create-react-app come to solve that problem, with one command our React project good to go.
But there's a caveat with using create-react-app, regardless their cool features. Because the Webpack is already preconfigured, it's difficult to override the config that can suit our needs. Although you can use tools like @craco/craco to override the config. And until now, I still cannot find how to perform SSR using create-react-app.
Talking about Server Side Rendering using React, maybe the first thing come into your mind is Next js. Next.js is React framework that gives you the best developer experience ever, it gives you the ability to create Static Site Generator like Gatsby.js, perform Server Side Rendering, and create interactive Single Page Application at the same time. So enough talk, let's jump into tutorial.
Pre-requisites
In order for you to follow this tutorial, you should already have basic knowledge about:
- React
- Javascript
- A little bit about Webpack
Get Started with Next.js
First things first, let's install our next app using this command:
yarn create next-app next-cra
# or if using npm
npx create-next-app next-cra
After finished the installation let's change directory to our next app and start our developement server using this command:
cd next-cra
yarn dev
Let's open localhost:3000, and your page should look like this:
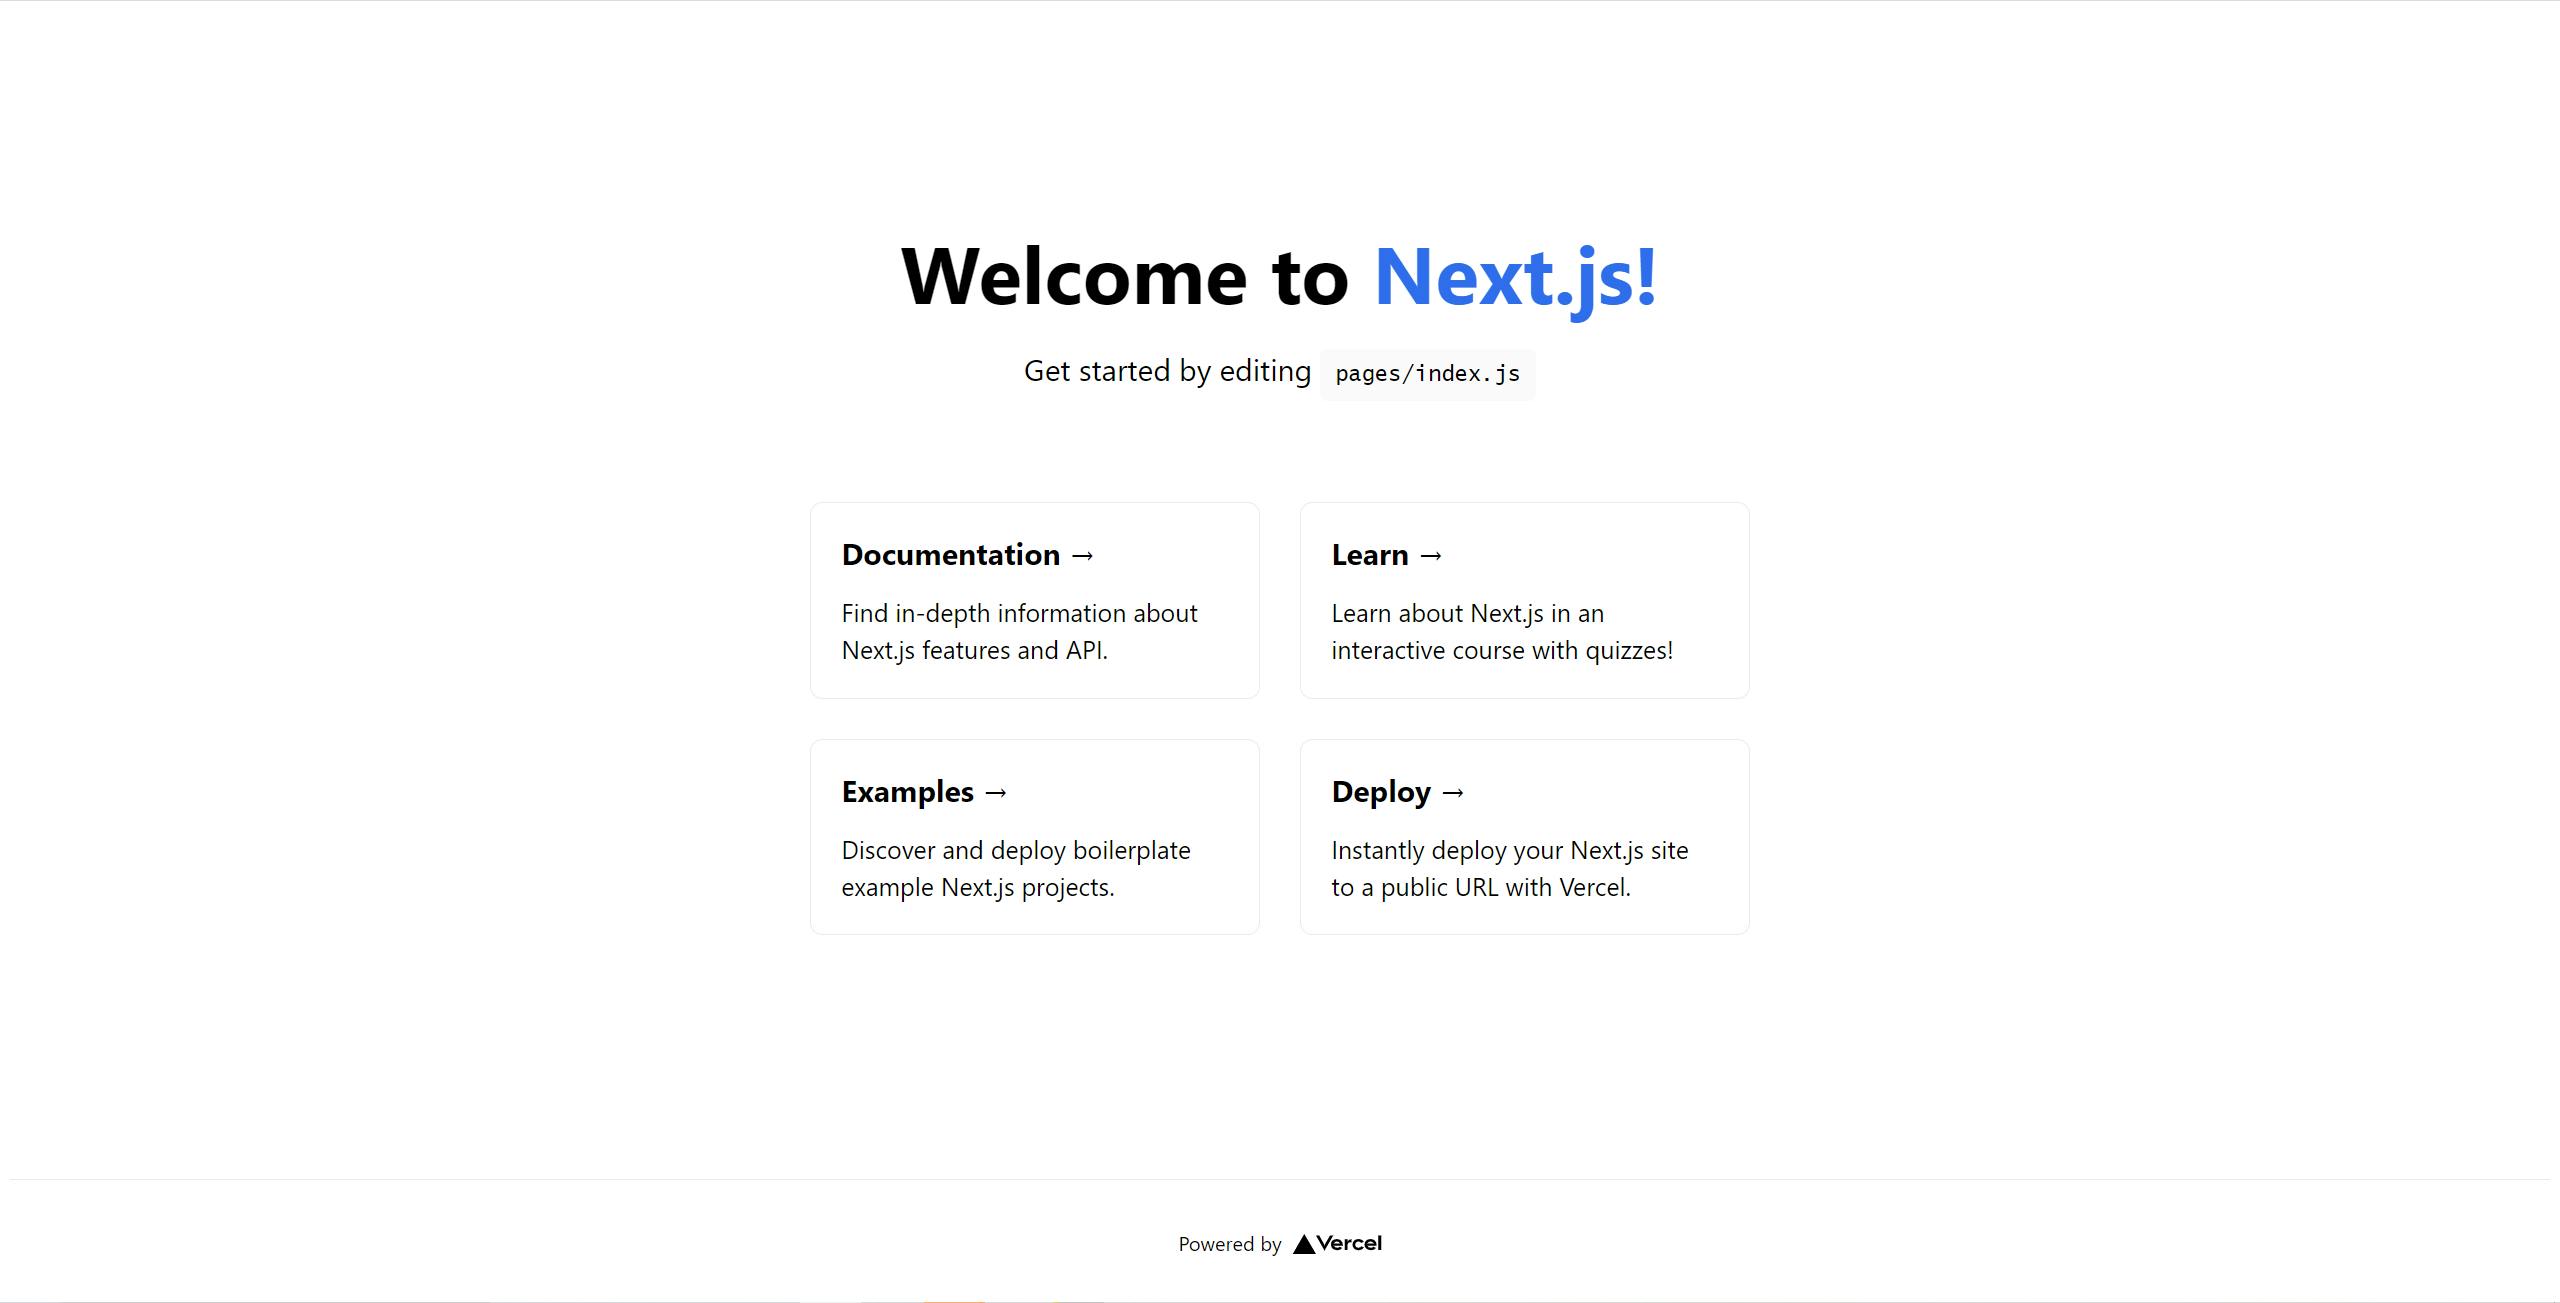
Image and SVG Feature
Maybe you are wondering, why do we need to add another setup configuration since our app works perfectly. I will show you that you will get error when you are trying using svg or image like the create-react-app way.
1. Importing Images to Next.js App
Maybe you are used to importing images on the jsx not from public folder like this:
import MyImage from '../assets/images.png';

export default () => <div>
  <img src={MyImage} />
</div>
But if you do this on the plain create-next-app you will get an error like this:
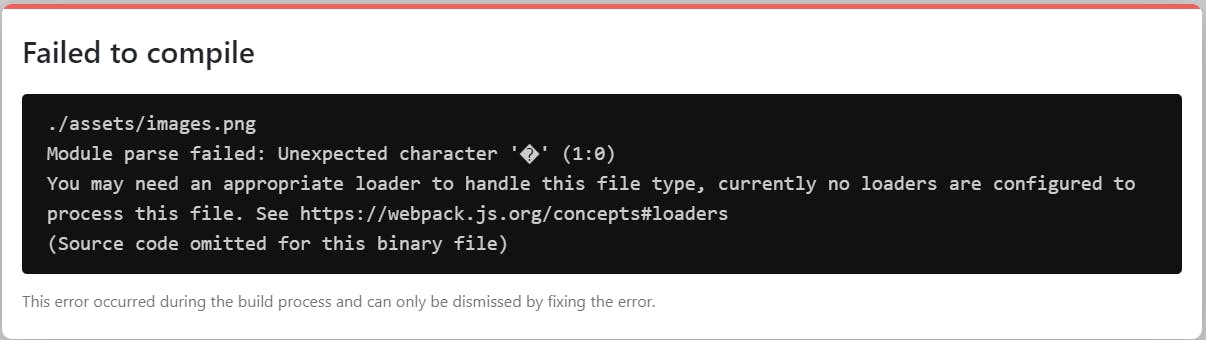 This problem happens, because our webpack cannot read the binary file. So in order to work correctly we need to install
 next-images and inject it into our Webpack configuration. First, we need to install next-images and create file next.config.js inside the root folder. Let's do this quickly with run this command:
yarn add next-images
touch next.config.js
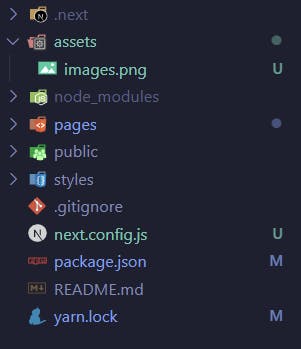
To make this tutorial so clear, your folder structure should look like this:
Now inside next.config.js add this code and then after you save it, you have to restart the development server.
// next.config.js
const withImages = require("next-images");

module.exports = withImages({
  fileExtensions: ["jpg", "jpeg", "png", "gif"],
  webpack(config, _options) {
    return config;
  },
});
After you restart the development server, you'll see that the error message is already gone. But the question is why we should add fileExtensions inside the config? That means we only accept jpg, jpeg, png, and gif extension, the only reason with that is we have to exclude svg extension in order for us to import svg file in the future, because we want to using another loader to load our svg file.
2. Importing SVG to Next.js App
Maybe you already familiar with this way of importing svg inside your create-react-app, and let's try that way inside our Next.js App.
import { ReactComponent as MySvg } from '../assets/my-svg.svg';

export default () => <div>
  <MySvg />
</div>
or maybe you try to embed your svg into <img /> tag as src attribute
import MySvgUrl from '../assets/my-svg.svg';

export default () => <div>
  <img src={MySvgUrl} />
</div>
And you'll notice that you will get very long error message called failed to compile inside your app, the error would look like this:
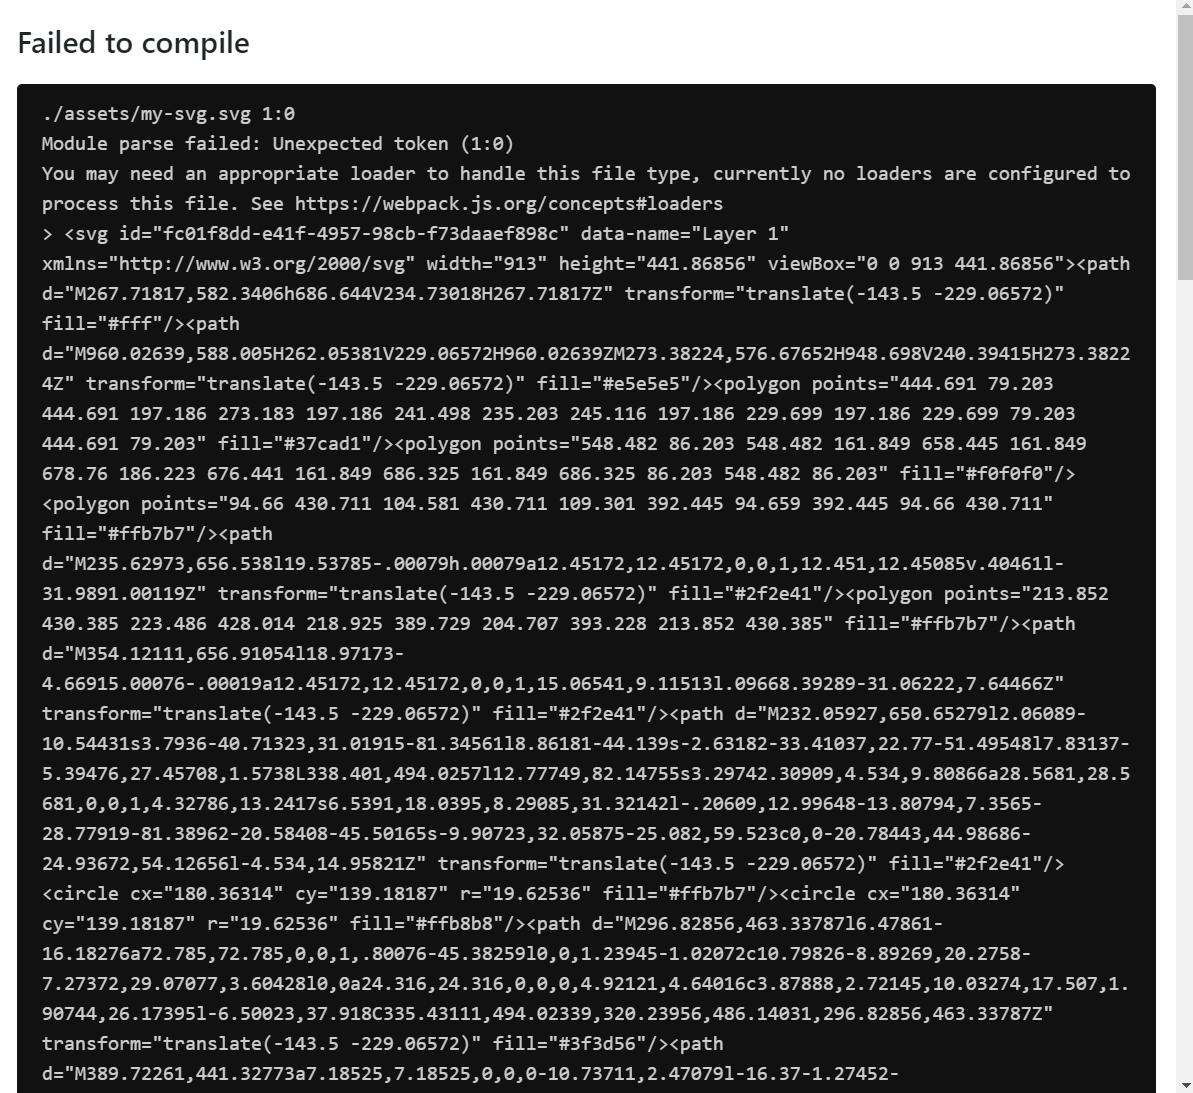
Now to solve our problem let's install another package and change our next.config.js file
yarn add @svgr/webpack url-loader next-compose-plugins
So what all of those plugins do for us?
@svgr/webpackandurl-loaderis for load the svg file in order to get rid of the error- because we already add next-images plugin before, to make adding more plugins easier we need to install
next-compose-plugins
Now, let's change our next.config.js file into something like this and then don't forget to restart your development server
// next.config.js
const withPlugins = require("next-compose-plugins");
const withImages = require("next-images");

module.exports = withPlugins(
  [[withImages, { fileExtensions: ["jpg", "jpeg", "png", "gif"] }]],
  {
    webpack(config) {
      config.module.rules.push({
        test: /\.svg$/,
        issuer: /\.(js|ts)x?$/,
        use: [
          {
            loader: "@svgr/webpack",
            options: {
              svgoConfig: {
                plugins: [
                  {
                    removeViewBox: false,
                  },
                ],
              },
            },
          },
          "url-loader",
        ],
      });

      return config;
    },
    future: {
      webpack5: true,
    },
  }
);
Now the error is finally gone for good 😊. If you want to modify the config that will suit your needs, you can always refer to the official documentation of @svgr/webpack and next-images.
3. Setup Testing Library
As you know, create-react-app already has pre-configured testing library using jest and react-testing-library. So let's setup that too inside our next app. First let's install all this packages
yarn add -D jest @testing-library/jest-dom @testing-library/react next-page-tester
This last part of tutorial will be a little bit confusing, and if you don't used to test your react app you can skip this section anyway. Before we write our first test, we should add a few more setup files in order our test run correctly.
First, let's add script into package.json
// Add test script inside our `package.json`
{
  // ...
  "scripts": {
    "dev": "next dev",
    "build": "next build",
    "start": "next start",
    "test": "jest --watchAll --no-cache" // add this script
  }
  // ...
}
Second we should create .babelrc file inside the root folder
// inside .babelrc file
{
  "presets": ["next/babel"]
}
Third we should create jest.setup.js file inside the root folder
// inside jest.setup.js
import "@testing-library/jest-dom";
Fourth let's create jest.config.js file inside the root folder
module.exports = {
  setupFilesAfterEnv: ["./jest.setup.js"],
};
Now, we can write our first test. To do that let's create folder inside our root folder called __test__. and then inside that we create file index.test.js. And we have to add data-testid attribute inside pages/index.js
// inside __test__/index.test.js

import { getPage } from "next-page-tester";
import { screen } from "@testing-library/react";

describe("Home page", () => {
  it("has svg icon", async () => {
    const { render } = await getPage({
      route: "/",
    });

    render();
    expect(screen.getByTestId(/test svg/i)).toBeInTheDocument();
  });
});

// inside pages/index.js

import { ReactComponent as MySvg } from "../assets/my-svg.svg";

export default function Home() {
  return (
    <div>
      <MySvg data-testid="test svg" />
    </div>
  );
}
Now let's run our test with this command:
yarn test
Well, surprisingly you will see that our test failed due to jest cannot recognize our css file inside pages/_app.js.
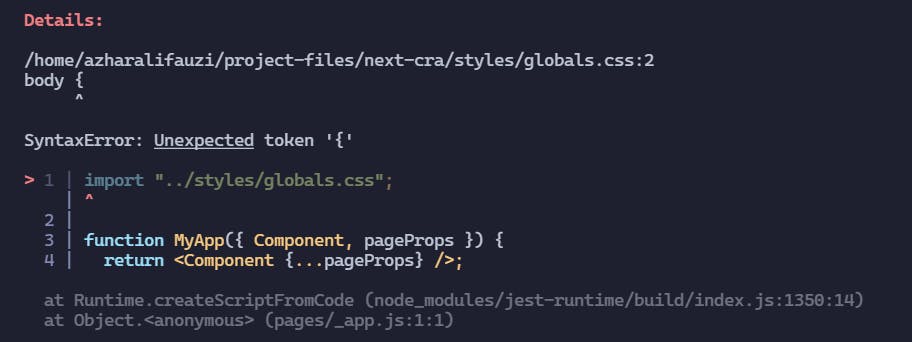
To fix that actually we only have to remove the line where we import css file. But most of the time in the future we will import css file all over the place, so to fix that we have to install another package
yarn add -D jest-css-modules
After that we have to modify our jest.config.js and then we have to stop our test script and then run it again.
module.exports = {
  setupFilesAfterEnv: ["./jest.setup.js"],
  moduleNameMapper: {
    "\\.(css|less|scss|sss|styl)$": "<rootDir>/node_modules/jest-css-modules",
  },
};
After run the test again we shall see the previous error is already gone, but we got another error 😂. And the error message is very long text containing our svg file. This error happening because jest did not use our @svgr/webpack that we already setup before. So to get rid off the error we should create a folder __mocks__ and iside that folder we create svgrMock.js
// inside __mocks__/svgrMock.js
import React from "react";

const SvgrMock = React.forwardRef((props, ref) => (
  <span ref={ref} {...props} />
));

export const ReactComponent = SvgrMock;
export default SvgrMock;
Now, last thing we need to do is change our jest.config.js into something like this
module.exports = {
  setupFilesAfterEnv: ["./jest.setup.js"],
  moduleNameMapper: {
    "\\.svg$": "<rootDir>/__mocks__/svgrMock.js",
    "\\.(css|less|scss|sss|styl)$": "<rootDir>/node_modules/jest-css-modules",
  },
};
Now try to test again using yarn test, you should see our test passed.
Conclusion
Finally we finished our Next App setup, and it feels like we are developing using create-react-app, besides we get more flexibility and cool feature from Next.js Framework. I also will provide you the full code in this link.